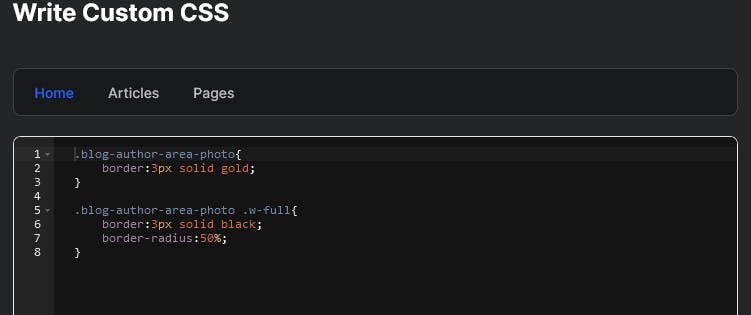
HashNode provides the ability to add Custom CSS to your blogs.
Using this feature we can add various fonts to our blog! (Adding multiple fonts can slow your site, so use it in limit.)
Lets get Started!
- Go to your 'Blog DashBoard' and then 'Appearances'.
- Scroll down where you find 'Add Custom CSS' option. Turn it on and click 'Edit CSS'

- Here you'll find various tabs on which you want to add the styles.

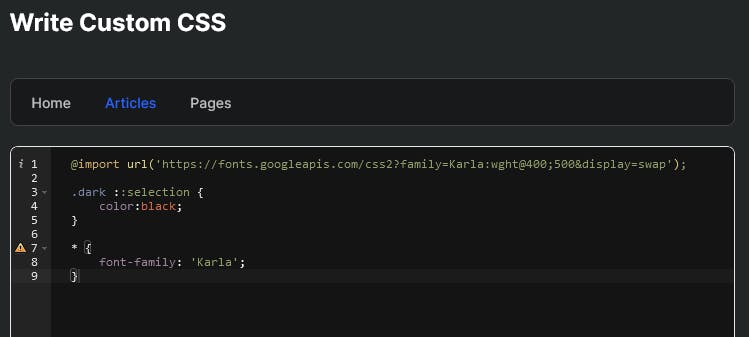
- For this example, I'll add custom fonts to Articles section.
To get the font we can use 'Google Fonts' or any other font service you like.
Go to Google Fonts and select the font you like, select the required weights and on the right, Select "@import" and copy the link.
Paste the link in the CSS box and now you can use that font!

Note: Avoid using * selector. I used it just for tutorial purpose
- Finally, scroll down and Save the changes. You can now preview the styles or publish them.

You can find the preview page of this blog here - PREVIEW
Hope you liked this blog and it helped you.

